

Enable Adobe Captivate HTML Auto-play – Easy Fix
How to enable the auto-play feature in the Adobe Captivate 2019 published file:
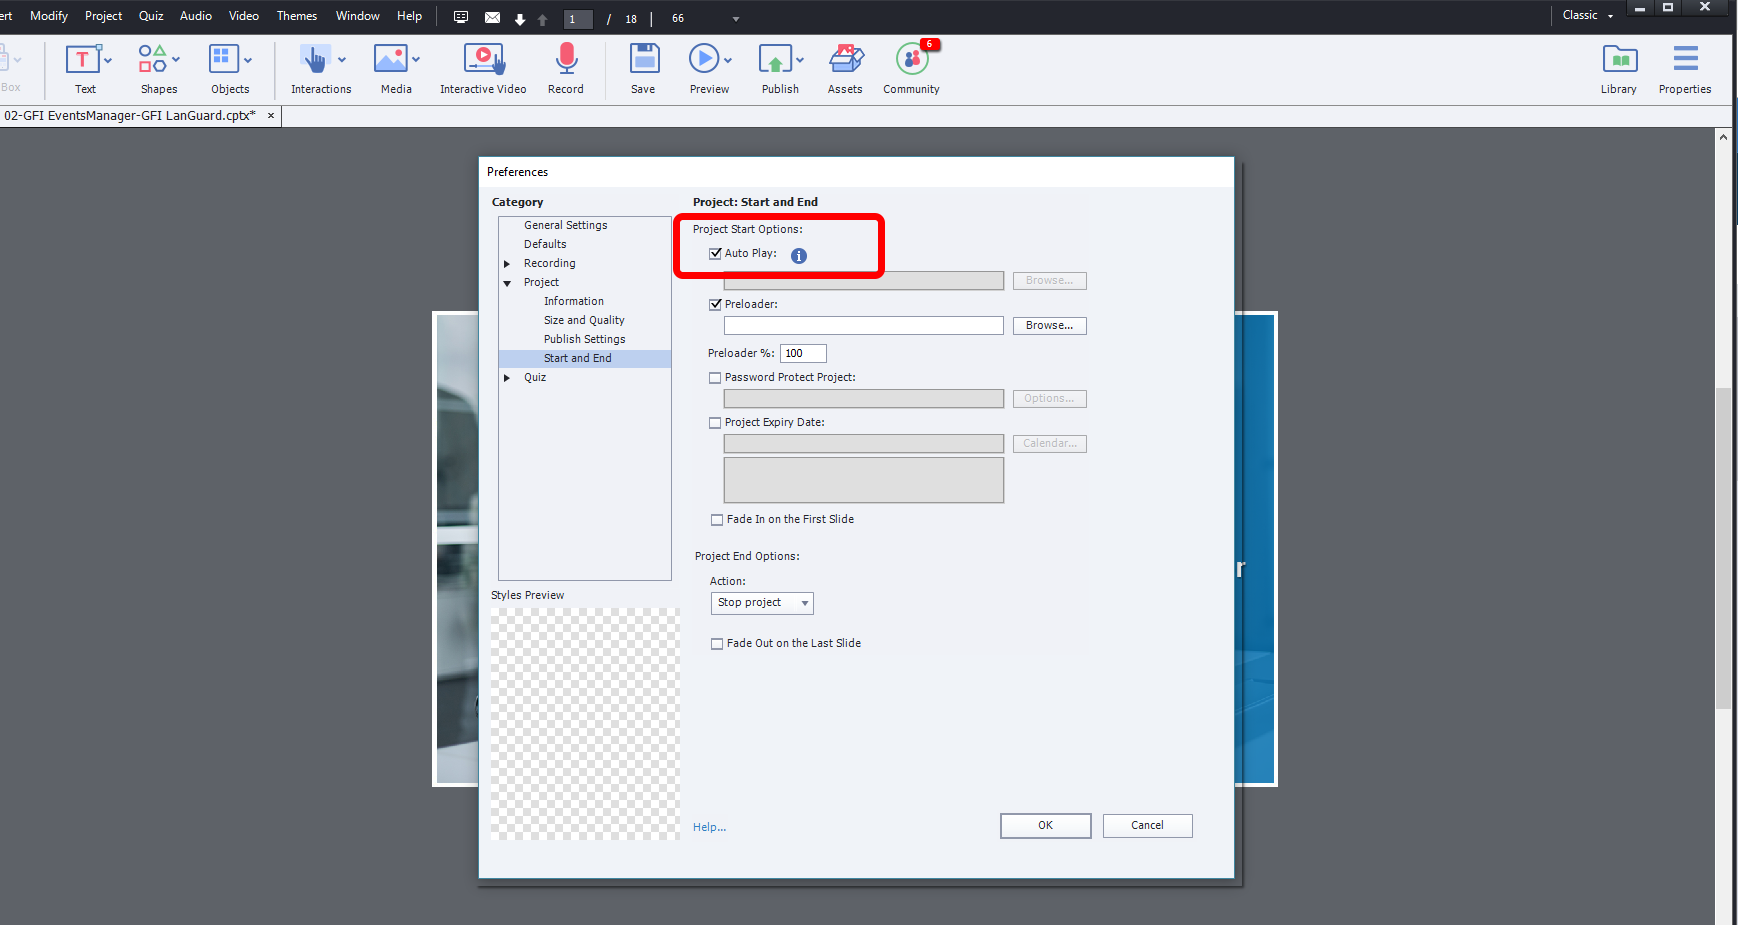
Step 1:
Open the project preferences and make sure to have the auto play option checked.
Step 2:
Publish your project, extract the published project ZIP archive, and edit the index.html (or index_scorm.html file) with a text editor such as Notepad++.
Step 3:
Replace the line’s 95 content
cpInit();
with
cpInit();
$(document).ready(function() {
$(“#playImage”).click();
});
Step 4:
Save the edited file and open it in browser to check if it works.
How to change the Adobe Captivate 2019 installation so that it always publish HTML content with auto play enabled by default:
Step 1:
Edit the Captivate template file:
C:Program FilesAdobeAdobe Captivate 2019 x64HTMLindex.html
Step 2:
Same as in the example above, replace line’s 95 content
cpInit();
with
cpInit();
$(document).ready(function() {
$(“#playImage”).click();
});
This will enable Captivate to publish all projects with the auto play feature enabled.
Tested in CP version 11.5.1.499


Recent Comments